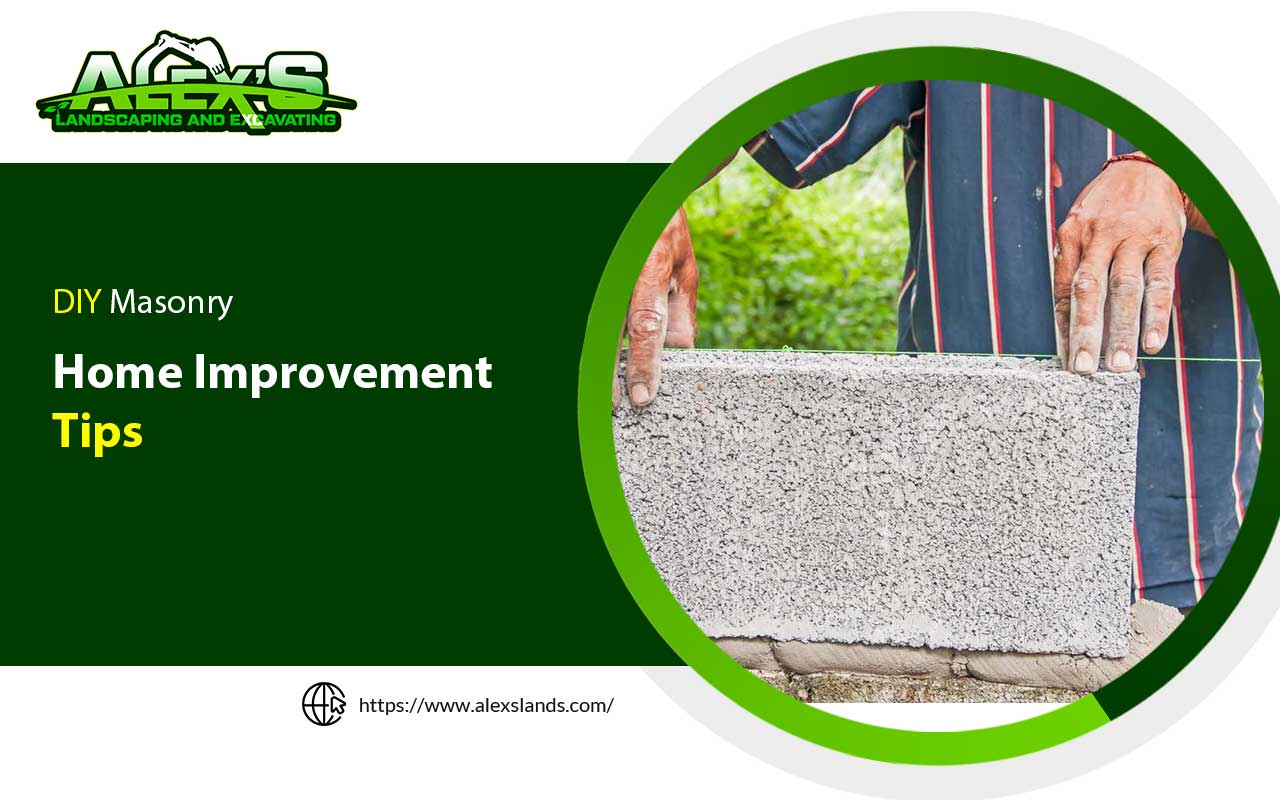
DIY Masonry Home Improvement Tips
Have you ever marveled at the craftsmanship of stone walls or the cozy feel of a brick fireplace? This allure often inspires many to dive into DIY masonry home improvement projects. While the process can be immensely rewarding, transforming your living space with your hands is challenging.
Each step requires precision and patience, from selecting the right materials to mastering the techniques. In this blog, we’ll explore essential tips that pave the way for successful projects and when it might be wise to call in a professional mason.
Mastering DIY Masonry: Practical Tips and Insights

Choosing the Right Materials
Before embarking on your masonry project, selecting the right materials is crucial. Brick, stone, and concrete each have unique properties that cater to different aesthetics and functionalities.
For garden walls, bricks are popular for their classic look and durability. If you’re aiming for more rustic charm, stone is your go-to. However, for load-bearing walls, concrete blocks provide strength and support. Remember, quality materials are the foundation of any lasting construction.
Essential Tools for Every Masonry Enthusiast
Equipping yourself with the right tools can make the difference between a project’s failure and success. At a minimum, you’ll need a trowel, masonry hammer, chisel, and level. A sturdy mixing pan and a pointing tool for applying mortar are also invaluable.
Investing in these tools not only makes the work easier but ensures that you can achieve a professional finish, even as a beginner.
Step-by-Step Guide to Laying Bricks
- Prepare the Foundation: Ensure a solid base by digging a footing and filling it with concrete.
- Mix the Mortar: A good mortar mix is vital. Follow the manufacturer’s instructions for the best results.
- Lay the First Brick: Apply mortar with your trowel and place your first brick, pressing it firmly.
- Check for Level: Regularly use your level to check the alignment of your bricks.
- Cut Bricks as Needed: Use your masonry hammer and chisel to size bricks for corners and ends.
Common Pitfalls to Avoid
New DIYers often make mistakes that can undermine their projects’ structural integrity and appearance. Avoid using too much water in your mortar mix, which can weaken the bonds. Don’t rush the curing process; patience here ensures strength and durability.
Additionally, inconsistent mortar joints look unprofessional and can lead to structural issues. It’s key to take your time to do it right.
When to Call a Professional Mason
While you can learn many masonry skills on your own, complex projects like retaining walls need a professional’s expertise. A skilled mason ensures safety and quality, especially for precise or large-scale work.
DIY masonry can be immensely rewarding, giving you a tangible sense of achievement and enhancing your home’s appeal. However, knowing when to hire a professional can save you time and ensure that complex projects are done right. Whether you’re laying a simple garden path or planning a grand fireplace, these tips will help you lay the bricks of success.
Bringing Your DIY Masonry Home Improvement to Completion
Starting your DIY masonry home improvement project can be rewarding—it beautifies your home and enhances your abilities. A professional mason can ensure safety, efficiency, and aesthetic appeal, especially for more complex or large-scale projects.
Contact us today if you’re ready to transform your space or need expert advice. Let’s build something beautiful together!
